THEIA-CAM™ | THSCU101
Guide to Set Up THSCU101 with Raspberry Pi
Introduction
USB Cameras are so common these days that people may think once any of them is connected to any computer through the USB connector it automatically works. This is not always true. For example, if you are connecting a high resolution and high performance USB camera to a Linux-based computer, it is likely you will encounter issues due to the need for many coding jargons to connect it successfully.
This page will avoid these issues by guiding you to quickly and successfully stream video from THine Solutions’ THEIA-CAM™ THSCU101 (13MP PDAF USB Camera) using a Raspberry Pi!
Hardware Overview
Raspberry Pi 4 Model B, Raspberry Pi 400, Raspberry Pi 3 Model B+ or Model B V1.2
Most recent Models work. Supported video resolutions are as listed below. THSCU101 works with Bullseye, Raspberry Pi’s latest OS, as well as Buster.
The ultra fast auto focus, PDAF (Phase Detection Auto Focus) is supported regardless of Model or OS.
Raspberry Pi 4 Model B and Pi 400 with either Bullseye or Buster (Let’s call this “RPi4” in this page)
1080p 30fps YUV
1080p 60fps JPEG
3MP 30fps YUV
4K 30fps JPEG
13MP 20fps JPEG
Raspberry Pi 3 Model B+ and Raspberry Pi 3 Model B V1.2 with either Bullseye or Buster (“RPi3”)
1080p 30fps JPEG
Internet access will be needed to download all the files. Please make sure your Raspberry Pi’s OS is the latest version. THSCU101 should work when the Raspberry Pi computer is powered by its official adaptor.
THine Solutions THEIA-CAM™ THSCU101
The THSCU101 is available at Digi-Key. A USB 3.0 Micro-B to Type A cable is included in the THSCU101 Kit.
We will now show you how to easily stream 4K camera video with Phase Detection Auto Focus!

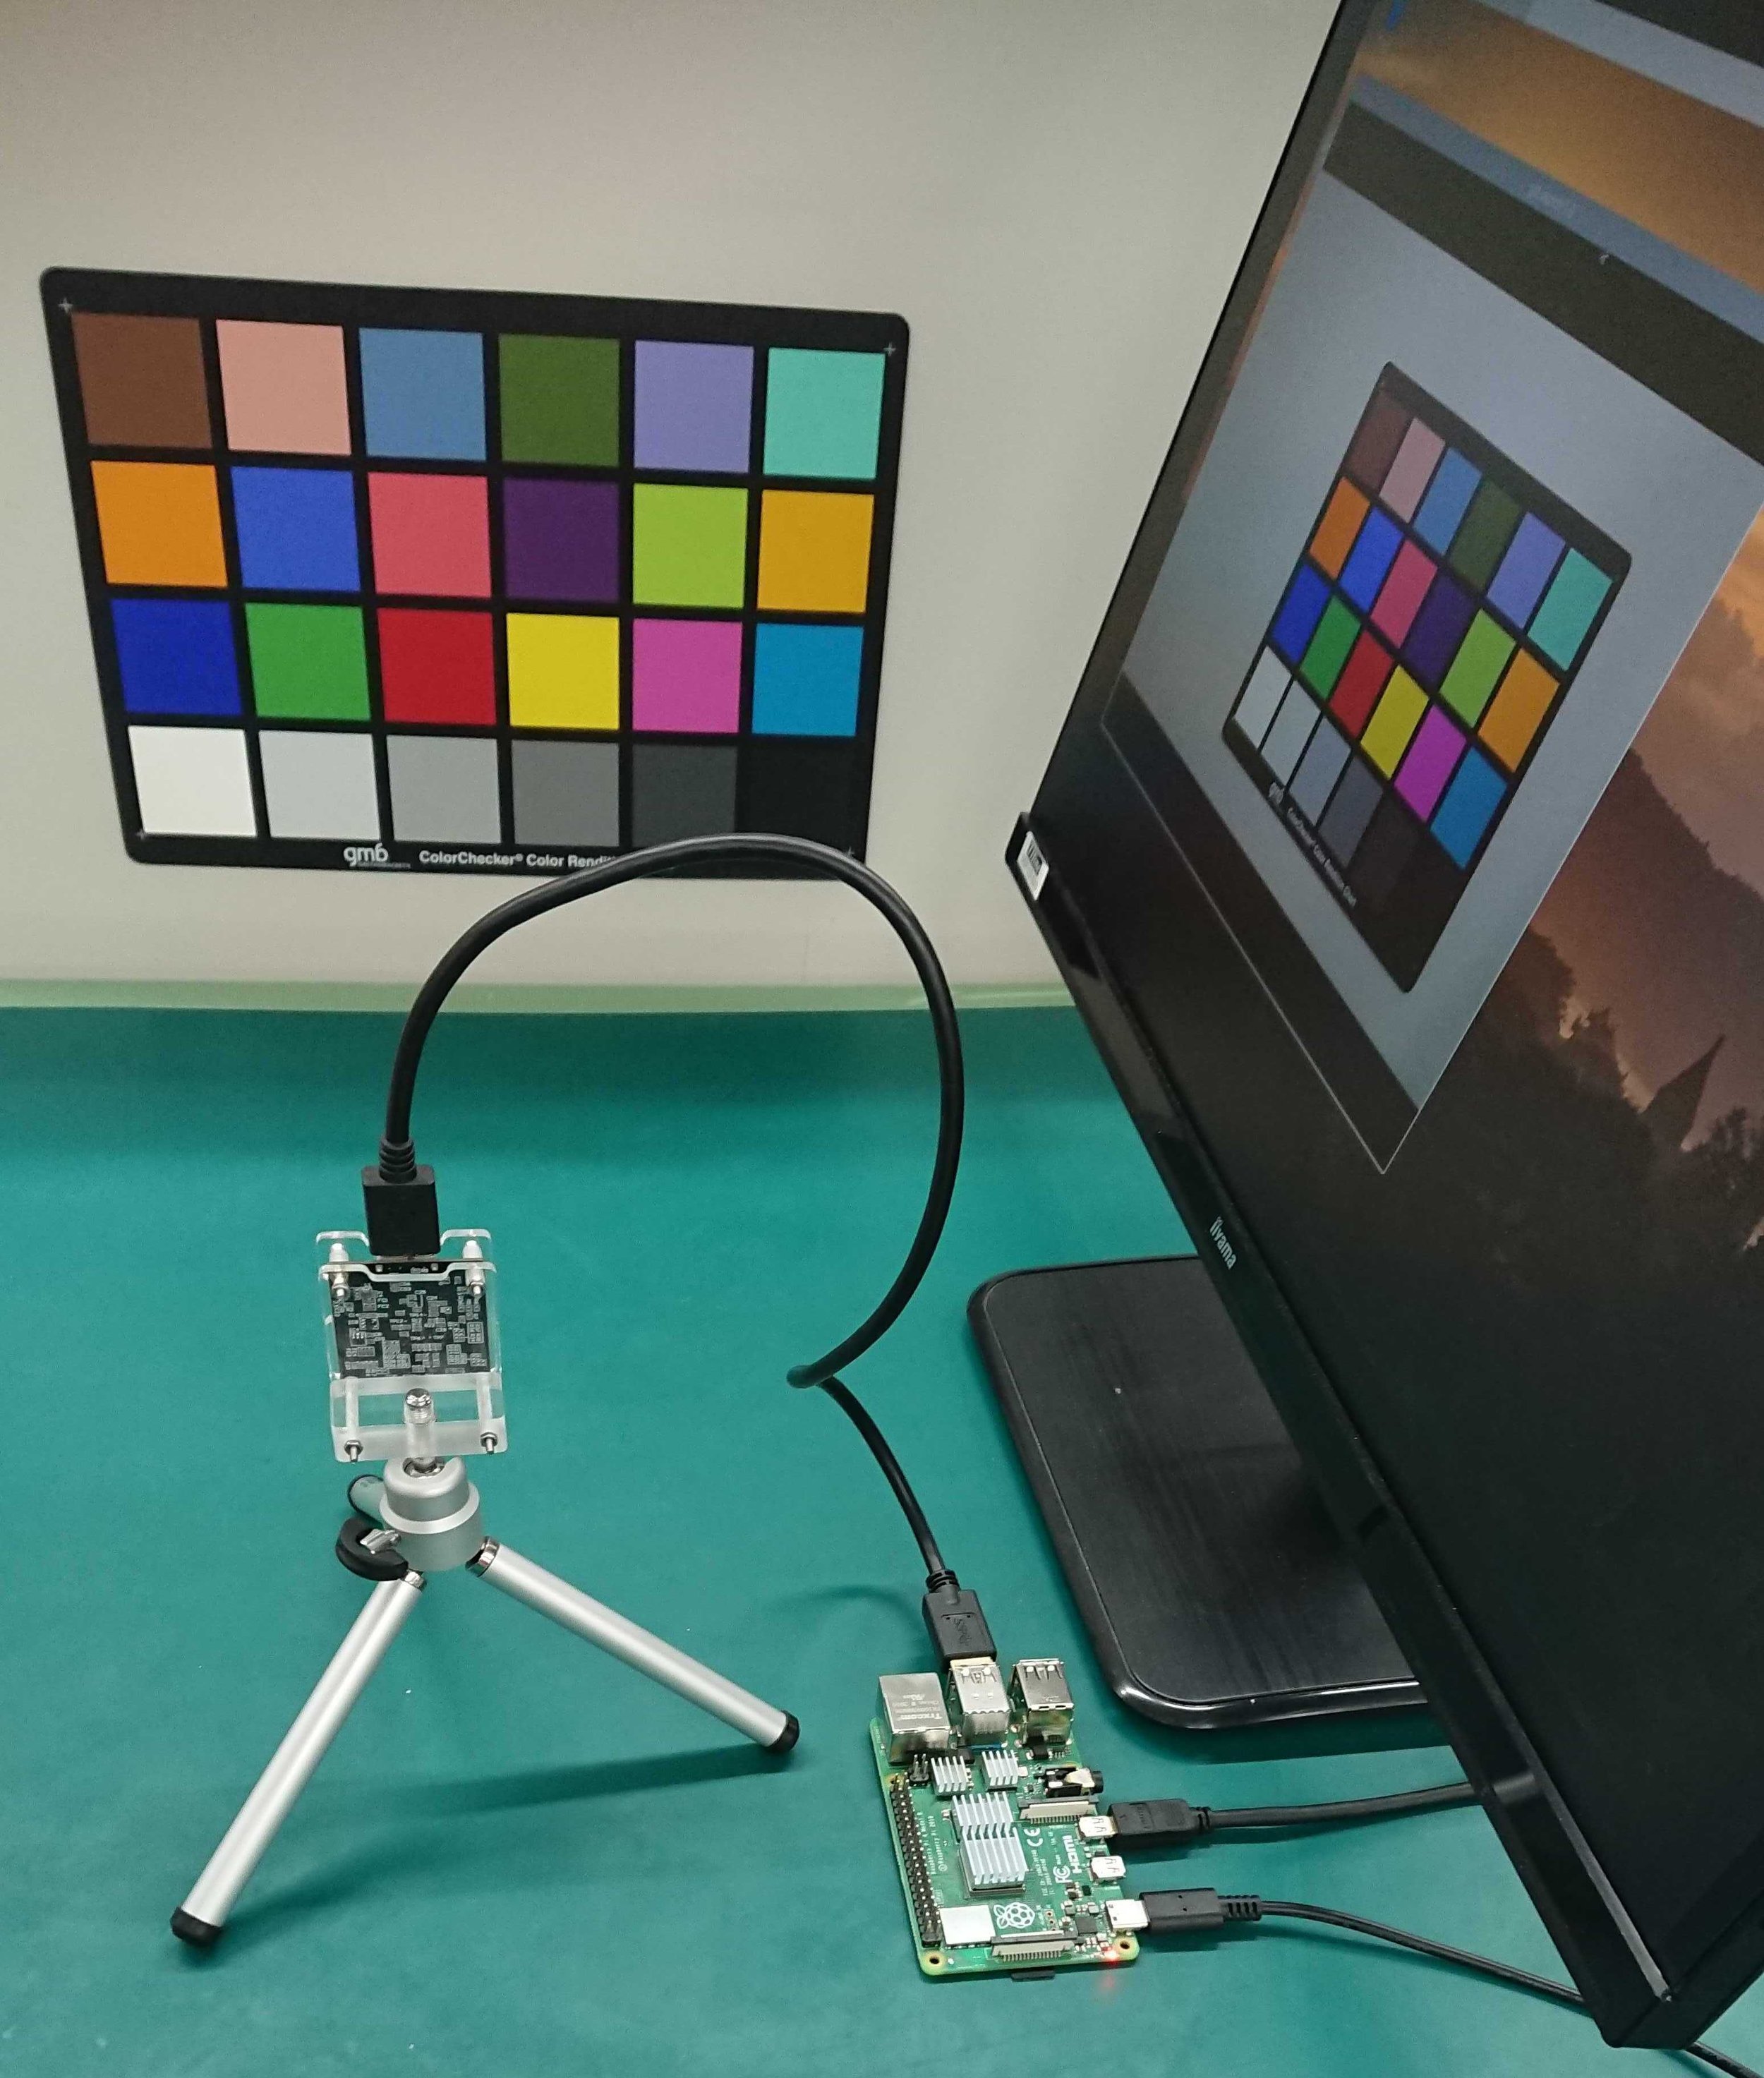
THSCU101 and Raspberry Pi Attached to a Touch Panel Display
Before You Start..
Make sure your THSCU101 Firmware is up to date. How to check the version numbers and to replace with the latest Firmware is explained here for Windows. For Mac, THSCU101 Firmware Programming Tool for Mac.
Driver Installation
Download the File
The ‘ignition key’ is here here. Place the zip file on Desktop of your Raspberry Pi computer.
Install the Script Files
Unzip and place the folder in Desktop by launching the Terminal window and executing following commands:
cd Desktop
unzip THEIA-CAMRPi4-Script.zip
ls
Now, let’s get the latest data and install. You may be asked to enter password for your user ID for the Raspberry Pi, and also if you want to continue. Type “y” and hit [Enter].
cd THEIA-CAM
chmod +x ./*.csh
./install.csh
Start Streaming
Now, your Raspberry Pi Computer is ready to stream images. Make sure your THSCU101 is connected to the Raspberry Pi, and try 1080p 30fps.
./1080p_30.csh

Voila! Did you see another window pop up and start showing live images? You might want a tripod to hold your THEIA-CAM™ so she (note: “Theia” is a goddess name) can look at what you want her to. If the image is not clear, double check if you have removed the transparent protector on top of the 13MP PDAF sensor module. Ctrl+C to close the video streaming window.
Don’t forget to remove the protection film on the camera module before use!
If you are using RPi 4, you can stream different resolution, frame rate, and data format by selecting one of the command files as below.
./1080p60.csh
./1080p60.csh
./3M.csh
./4K.csh
./13M.csh
Multi-Camera Setup on Raspberry Pi
If you have multiple THSCU101s connected to your Raspberry Pi Computer via USB 3.0, you can stream them simultaneously! Add “ /dev/video<n>” to the video stream commands. Typically secondary camera is /dev/video2. For /dev/video2, your commands will be:
cd Desktop
cd THEIA-CAM
./1080p30.csh /dev/video2
./1080p60.csh /dev/video2
./3M.csh /dev/video2
./4K.csh /dev/video2
./13M.csh /dev/video2
By opening another Terminal window, you can see each video stream.
What’s Next - Want to Tweak the Image Quality?
We are confident and proud of the Image Quality of the THEIA-CAM™ THSCU101. With Imatest criteria, the THSCU101 does perform better than iPhone 12 in most areas. However, different application requires different specs. If you need to change THEIA-CAM’s configuration, there are several options listed as below.
UVC (USB Video Class) Configuration
Under years of close partnership with Cypress Semiconductor, an Infineon company, THSCU101 supports whole bunch of configuration set for UVC (USB Video Class) commands through Cypress’ CX3.
CDK (Camera Development Kit) Tool to Develop Your Own ISP Firmware
From driving a CMOS image sensor, processing standard image such as Auto Exposure and Auto White Balance, and then Image Quality tuning in multiple different light conditions, to unit-to-unit Image Quality calibration against CMOS image sensor modules, an Image Signal Processor (ISP) covers everything that is related to image/video that Application Processor takes as the camera image output. Because the process, structure, and the firmware to execute all the computing, ISP’s process design is typically so closed and confidential that you cannot touch. THine’s ISP is the exception.
THine has developed a took set CDK (Camera Development Kit), that enables you to do the ISP firmware development for all the essential functions according to your own program requirements, with easy-to-use Graphical User Interface.
If CDK overview is found cover your program requirements, contact us and request for technical support. According to your application and requirements, we will tailor our support along with CDK took kit.
Related Pages
Product Overview | THSCU101 13MP PDAF UVC Camera | THine Solutions, Inc.
Image Quality Report | THSCU101 Image Quality Report | THine Solutions, Inc.
Whitepaper | Design Trend for Embedded Vision Systems that Include High Performance Cameras | Katsumi Kuwayama | THine Solutions, Inc.
Blog | Upgrade to PDAF for Best Auto-Focus Experience! | Tak Iizuka | THine Solutions, Inc.
Product Overview | THEIA-CAM - 13MP PDAF UVC Camera Reference Design Kit (RDK) | Cypress Semiconductor Corp.